Grace's Holiday Updo Hairstyle Tutorial (With Pictures) | Robert Tonner Doll
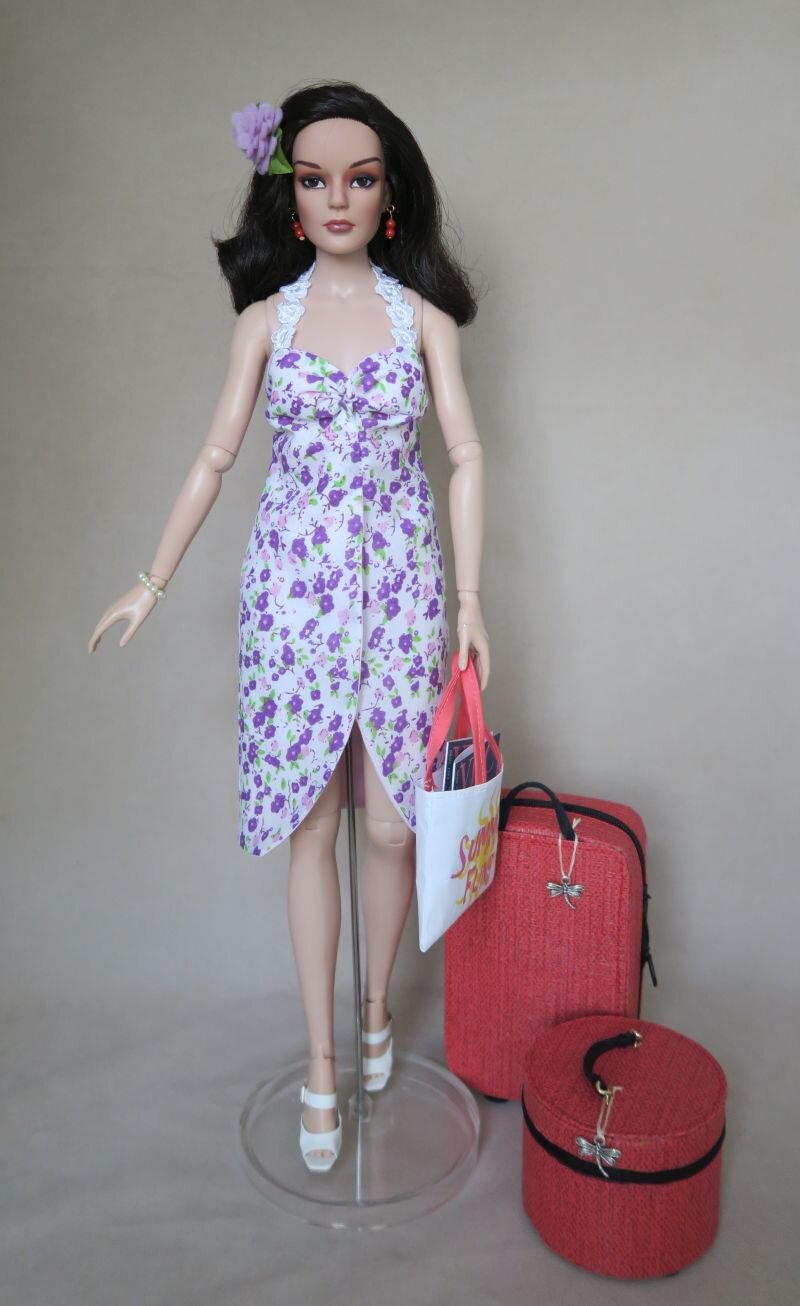
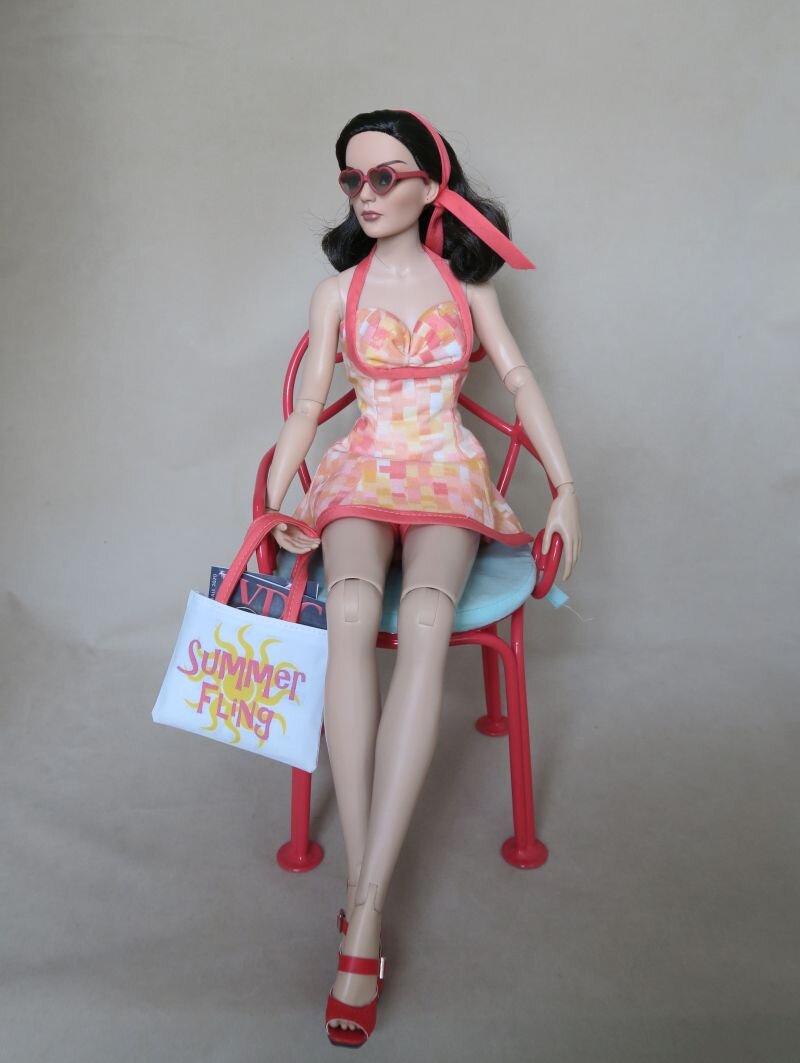
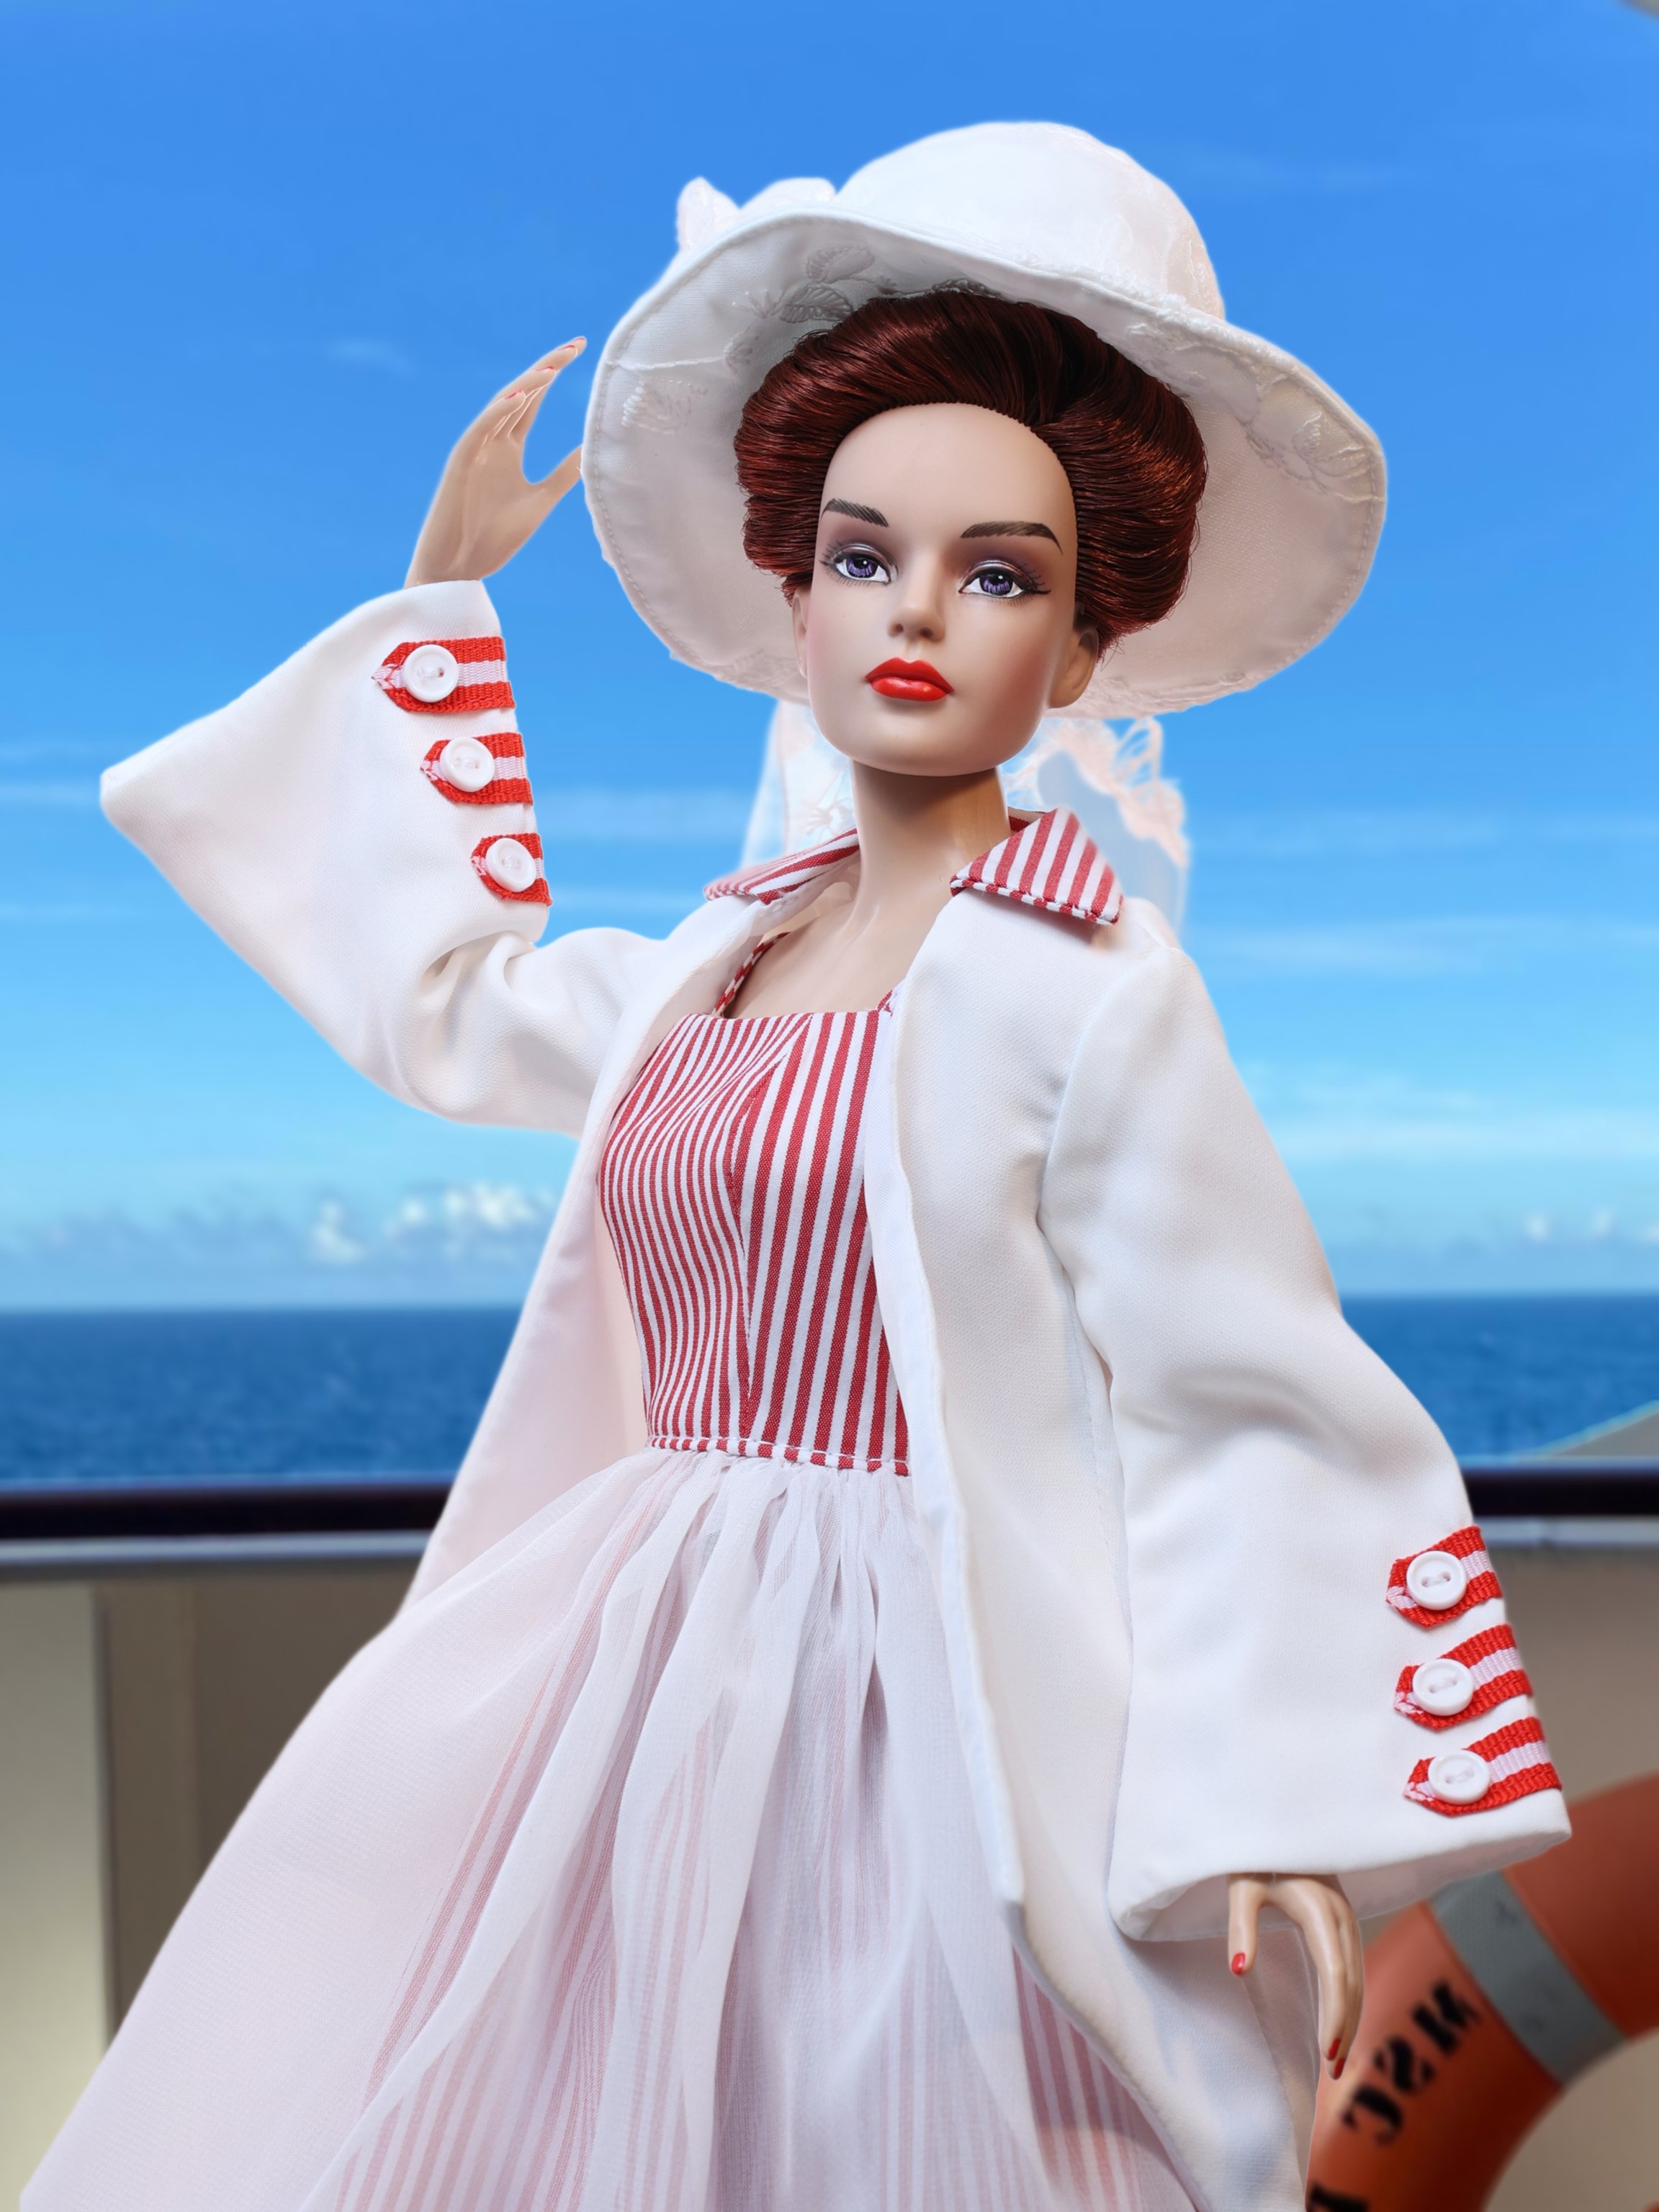
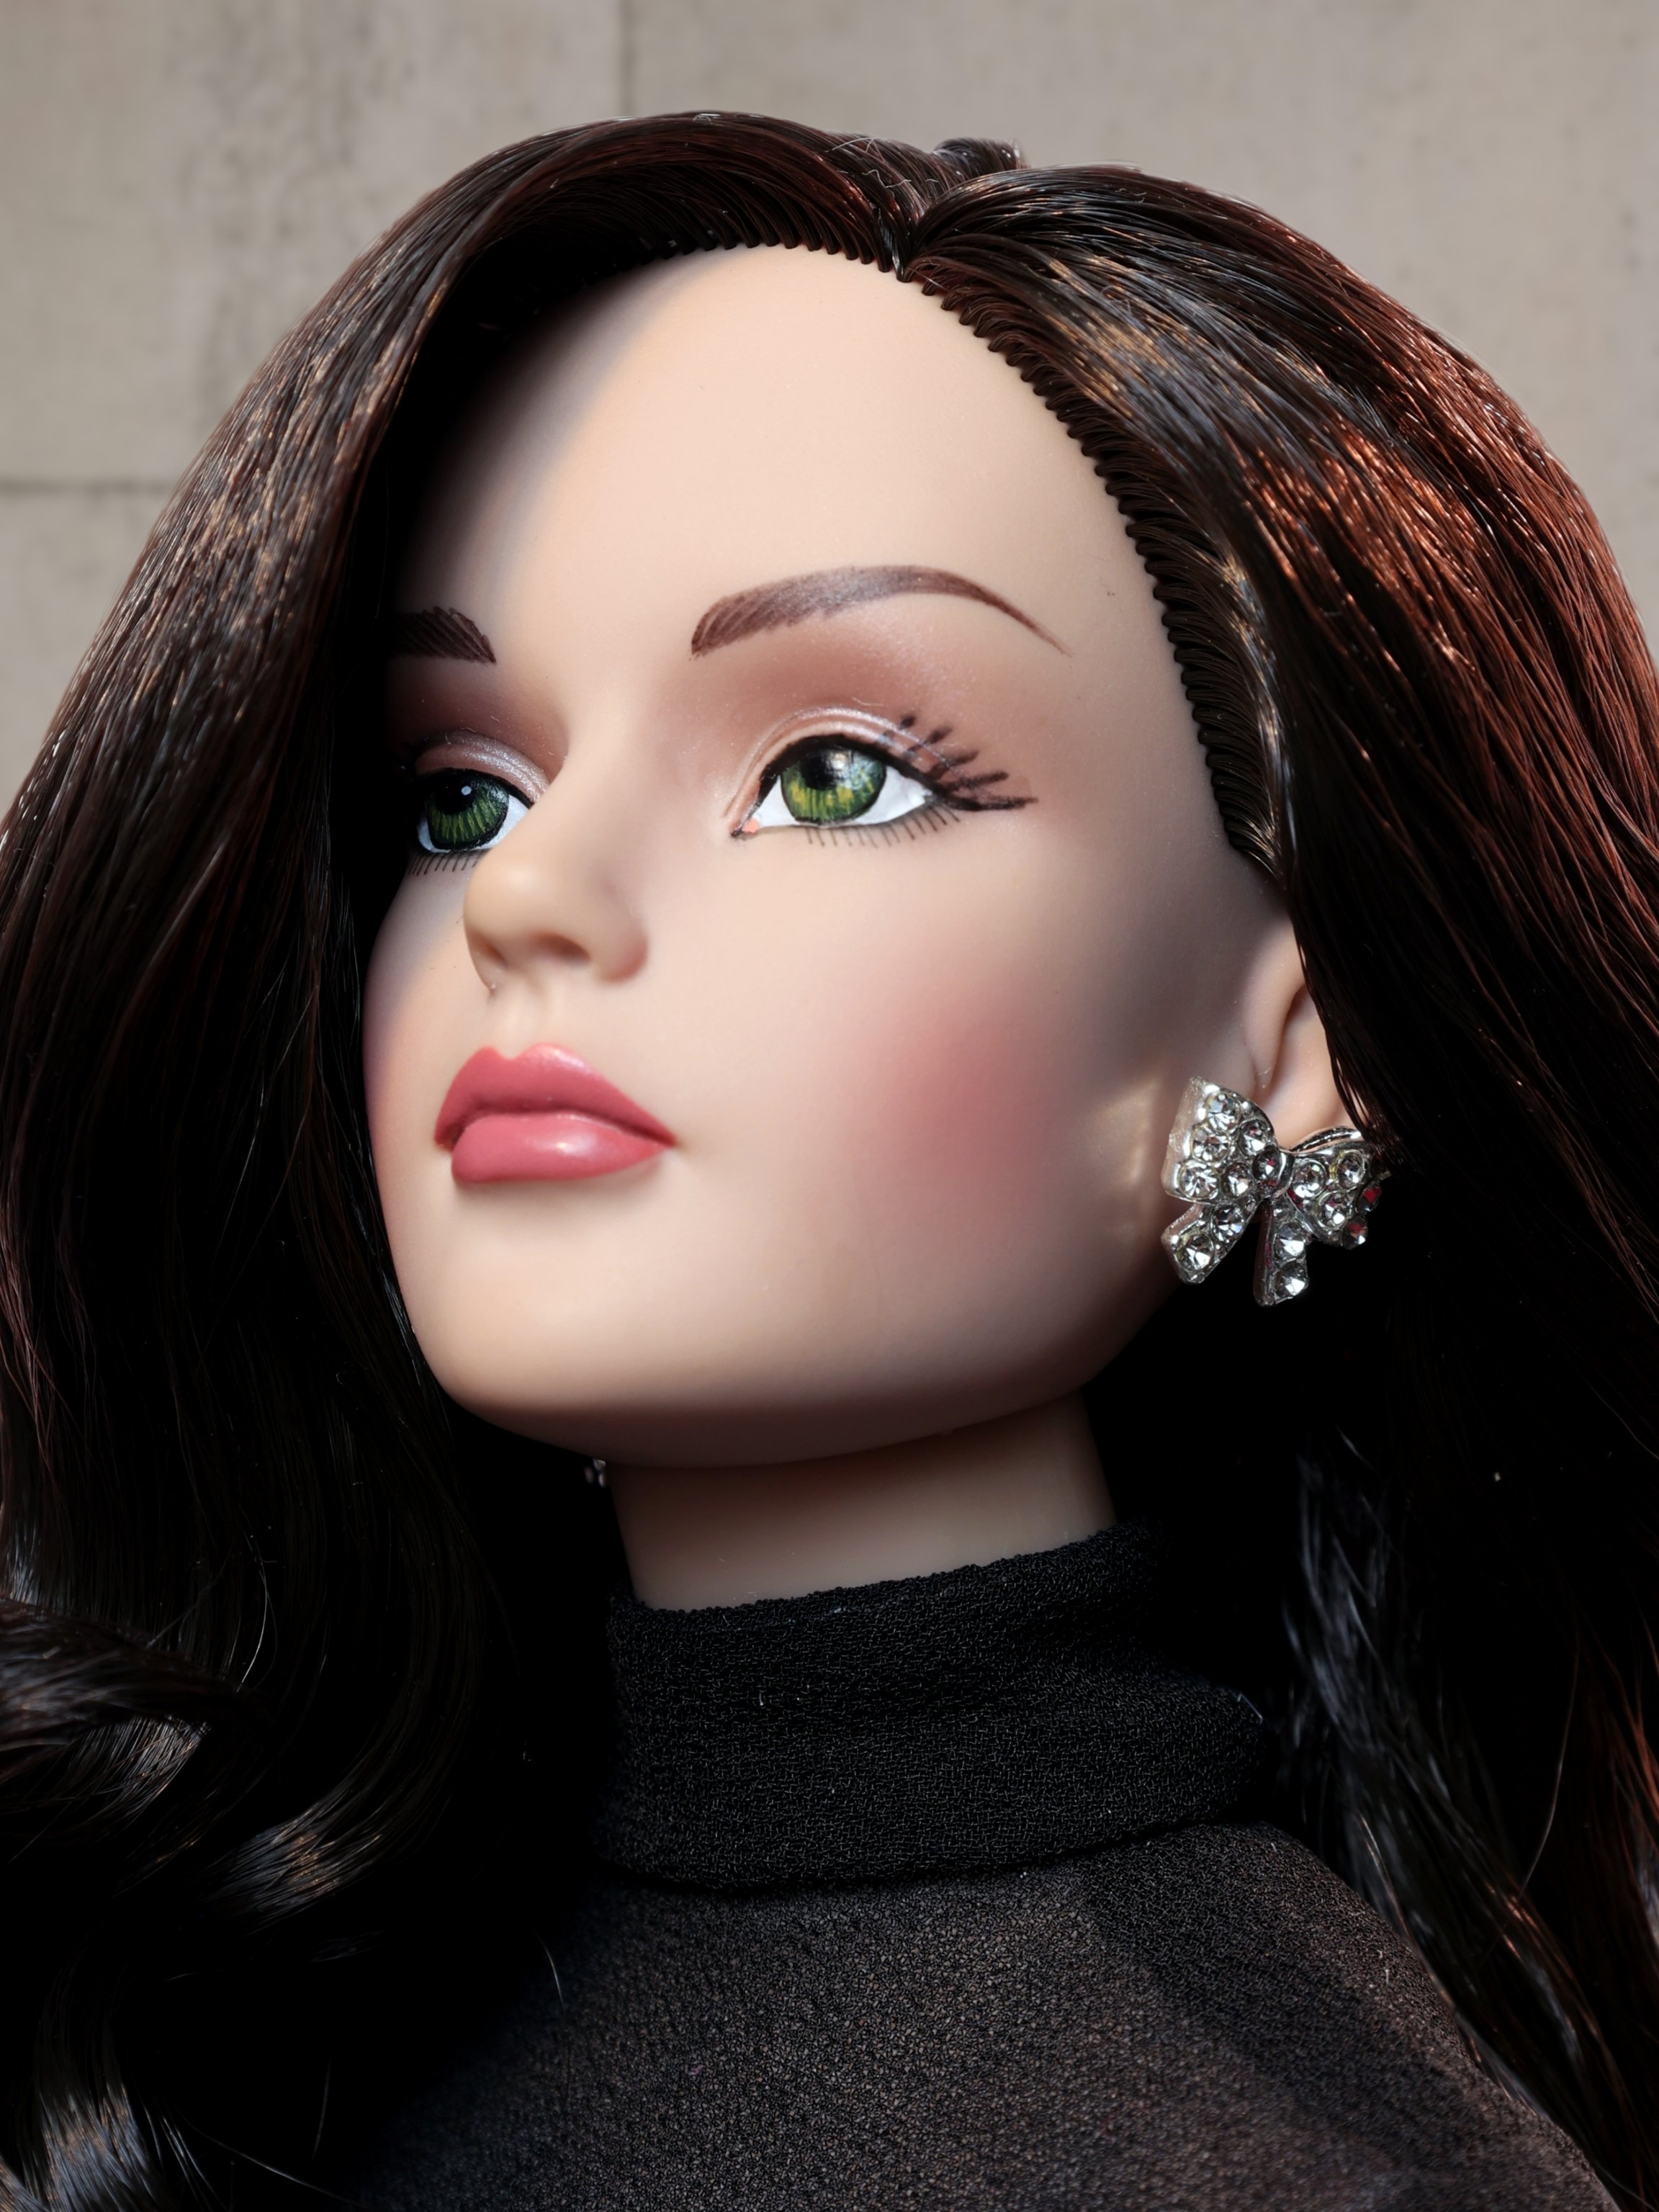
The enchanting Grace Marie Fitzpatrick doll by Robert Tonner, is a wonderful and highly poseable doll that is a joy to design for, dress up, and display. I was first introduced to her last summer during Rachel Hoffman's Virtual Doll Convention Summer Fling. As a doll costumer who has been sewing "paper doll" clothing for the past nine years, I was thoroughly taken by the paper dolls and fashion images of Grace Marie by Diana Vining, the Virtual Doll Conventions' resident artist. I purchased one of the dolls, and since, have expanded my design and sewing challenges to include costuming for the 16" Grace Marie fashion doll. I've always felt that when displaying a doll, she comes naturally to life when holding an accessory. Moreover, when you can style her hair to change her look and compliment her outfit, the entire presentation sings. And, styling her hair can enhance your doll play, too! Here is a basic up do that you can create for your Grace Marie doll. Once you have this technique down, you can style her hair in multiple ways to suit her mood. The most important thing is to take your time, and have fun with this. Robert Tonner's wigs will hold up to hours of styling so don't be afraid to play!
Grace's Up Do: Grace Marie might enjoy a new hairdo for 2021. Let's put her hair up!
Step 1: These are some of the things you will need to get started. A misting spray bottle, doll hair pins, a wire cutter, and a men's comb, or small toothed comb. If you experience difficulty working with the silky hair, mist it lightly and it will be easier to work with. Doll wigs are generally styled damp. For this tutorial, I did not use the mist.
You can purchase doll hair pins on places like eBay or Etsy, but a sturdy bent wire works well, too, and I have used both. I actually prefer my own wire so I can trim it with wire cutters since doll hair pins are 1" long and generally too long for a head Grace Marie's size.
Step 2: Take a section of Grace's hair from the front of her face and twist it to the left, then insert a hair pin directly down and into the twist to the front. You may find the purchased hair pins too long, and they may be trimmed, but practice putting her hair up first before trimming the pins. When you're confident about the process, you can trim them about 1/4"
Step 3: Take another section and repeat the process of twist and pin to the top of her head.
Step 4: Smooth a section up from the base of the neck and repeat the process of twisting and pinning.
Step 5: This is how it should look.
Step 6: Begin the process from the other side of Grace's head.
Step 7: When all strands have been twisted and pinned up, there will be some wavy ends to tuck and pin. You can smooth them into short waves and pin in place.
Step 8: This is how the doll's style will look. You can see a hair pin sitting up to show you to continue pinning more in. The more pins you set into the hair, the more they will cross each other and give the do stability. A tip I learned this from my hairdresser!
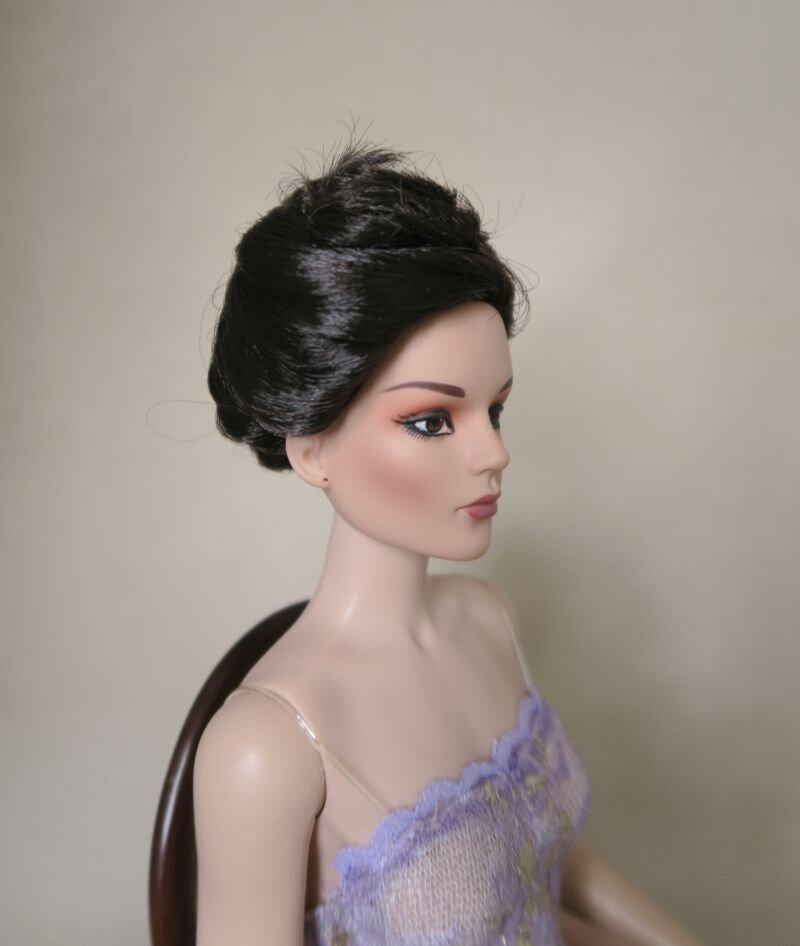
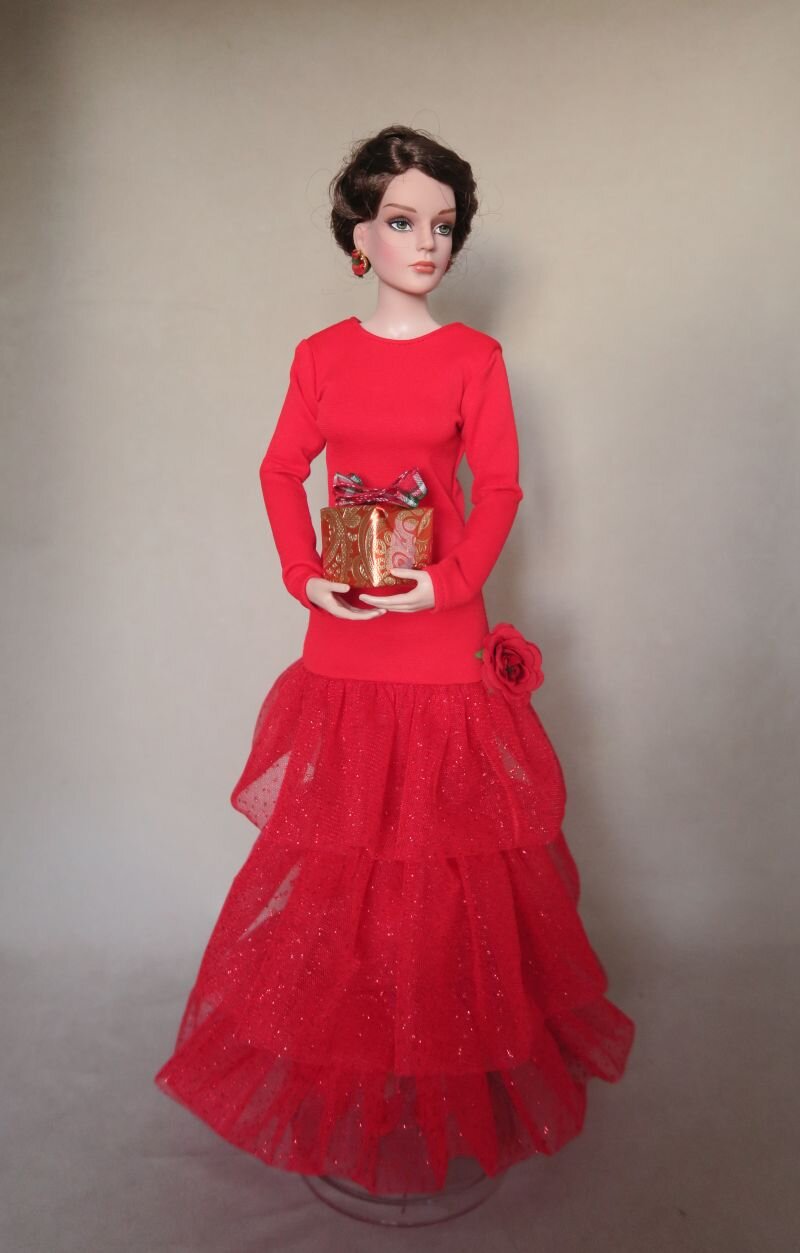
Step 9: This is how Grace Marie's hair will look once her hair is pinned and tucked up. Each time you do this, it may look a bit different, but that's the fun in hairstyling a doll's tresses. The process will be easier with a shoulder-length wig but will require trimmed hair pins.
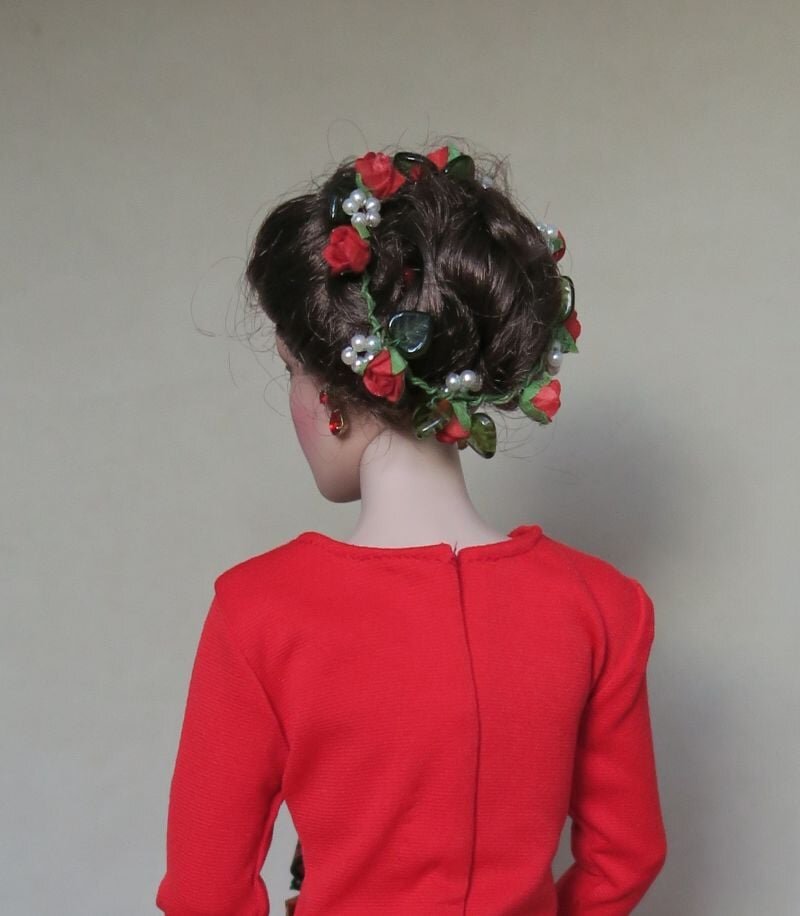
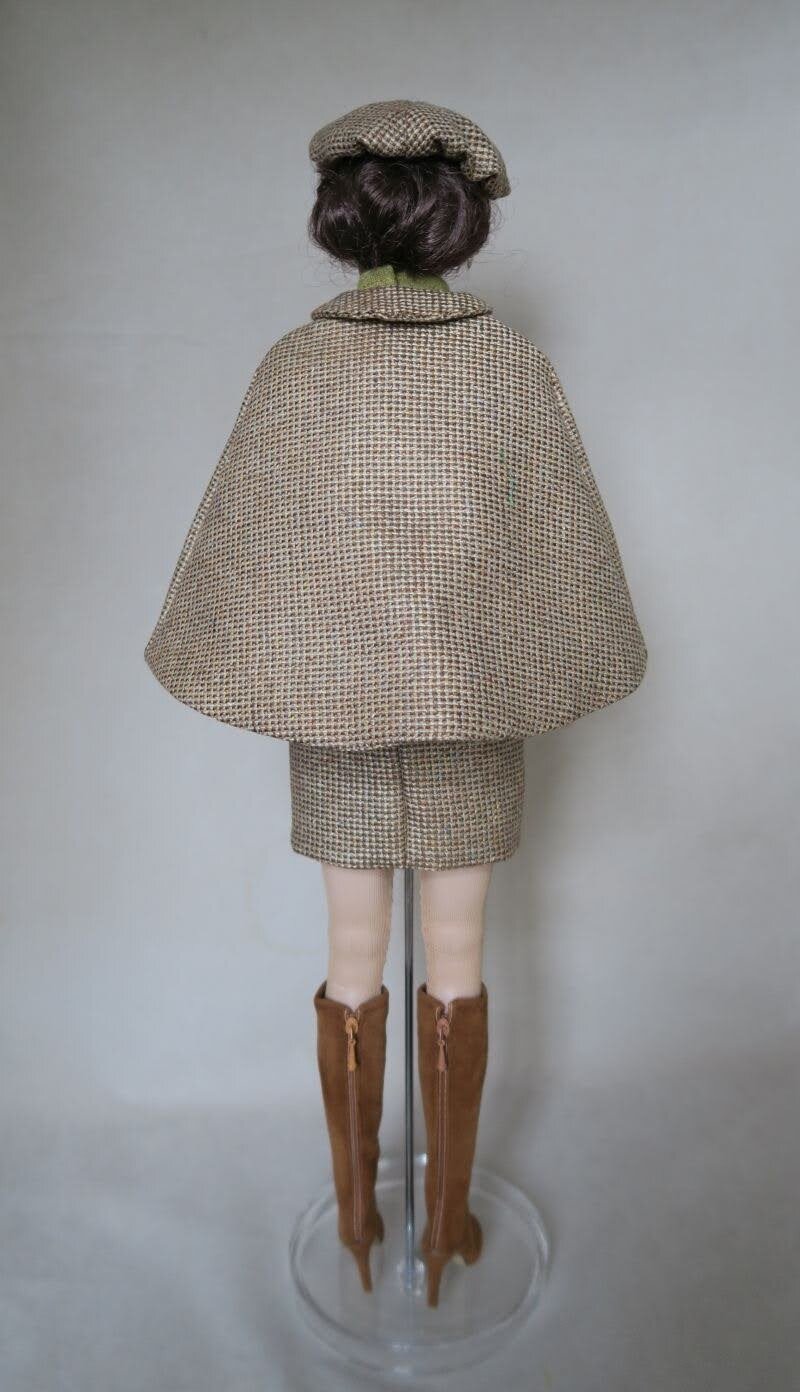
Step 9a: Back image of Grace's Up Do.
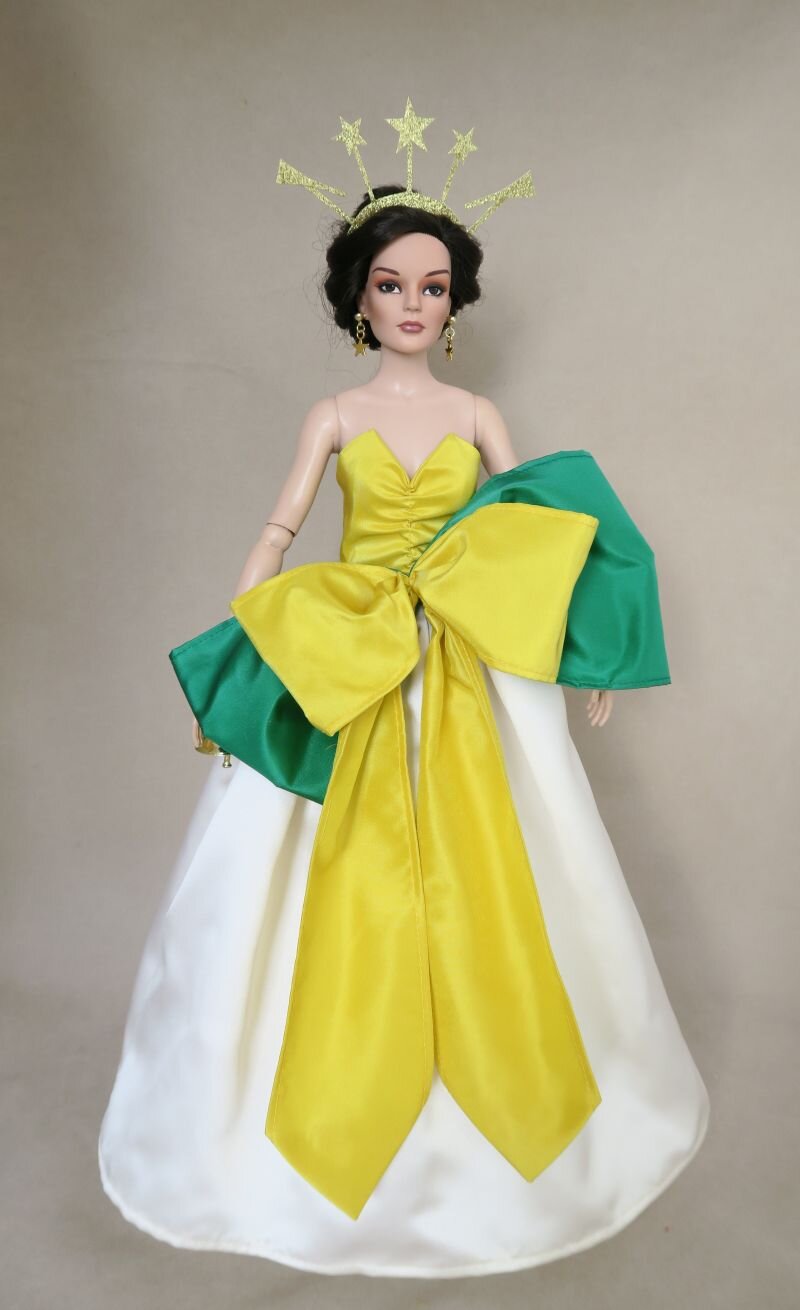
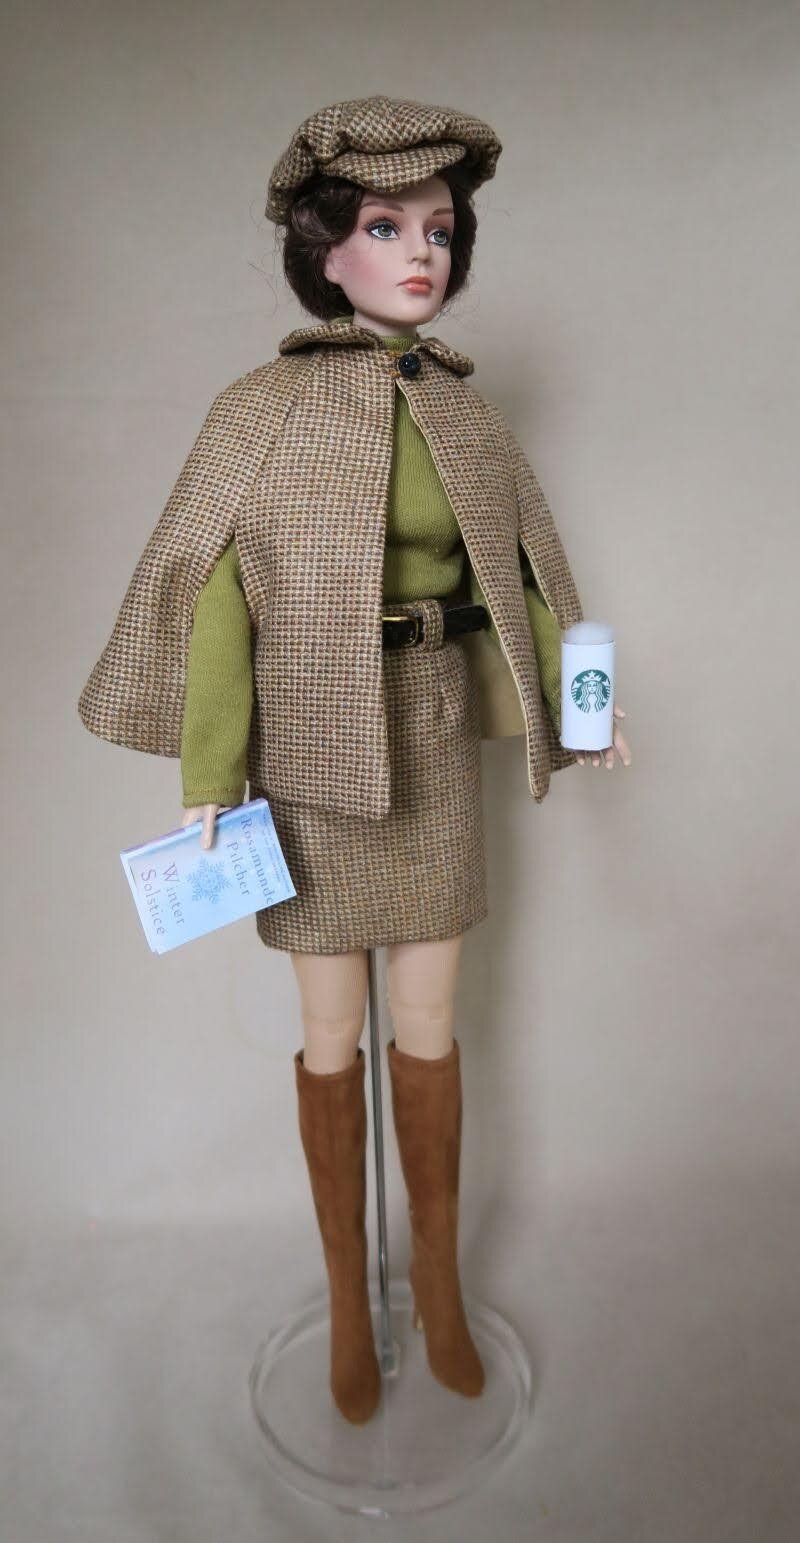
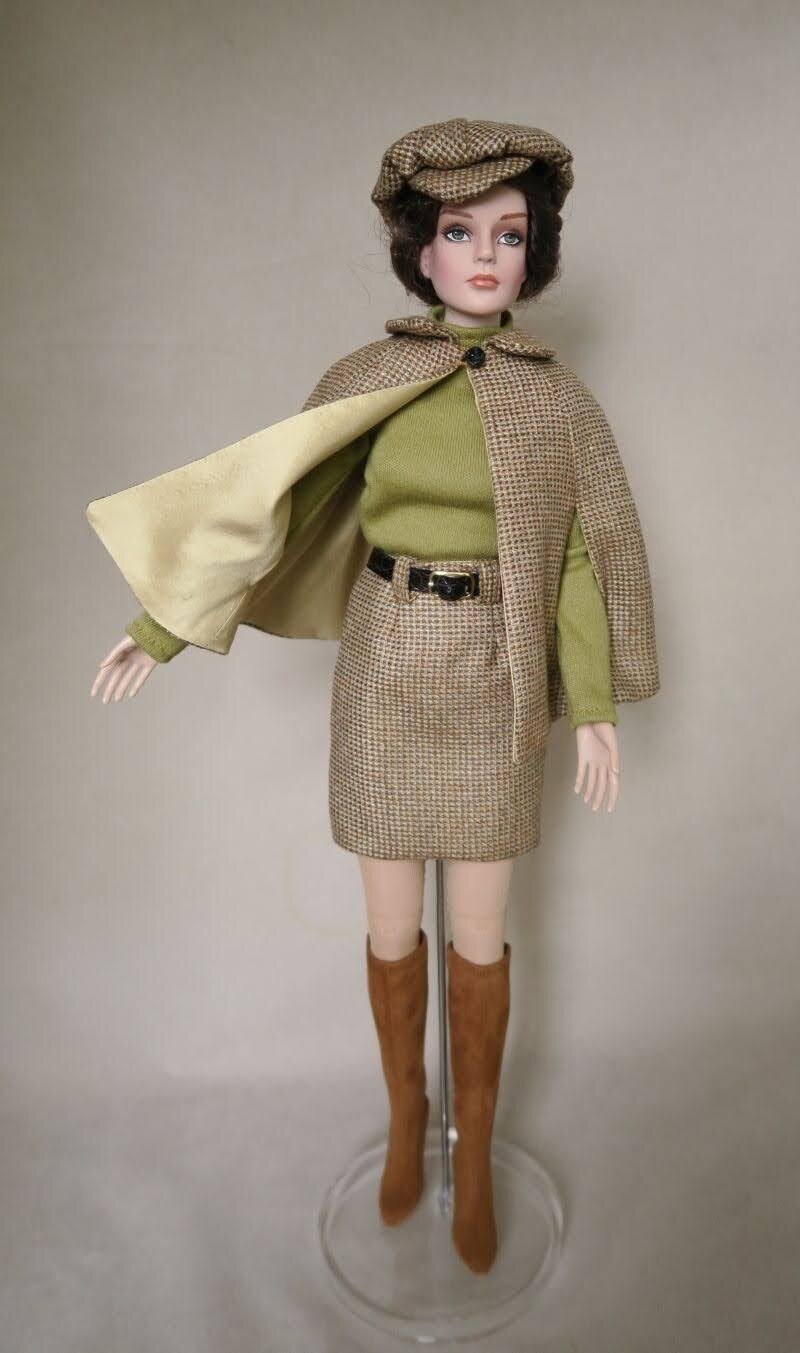
Step 9b: An elegant style for Grace. You can now add flowers, or a tiara, or tuck the up do into a beret. The more you do this, the more confident you will become and understand what works best. Try different styles with the hair pins. They will work for simply pulling her tresses away from her face. Have fun!
